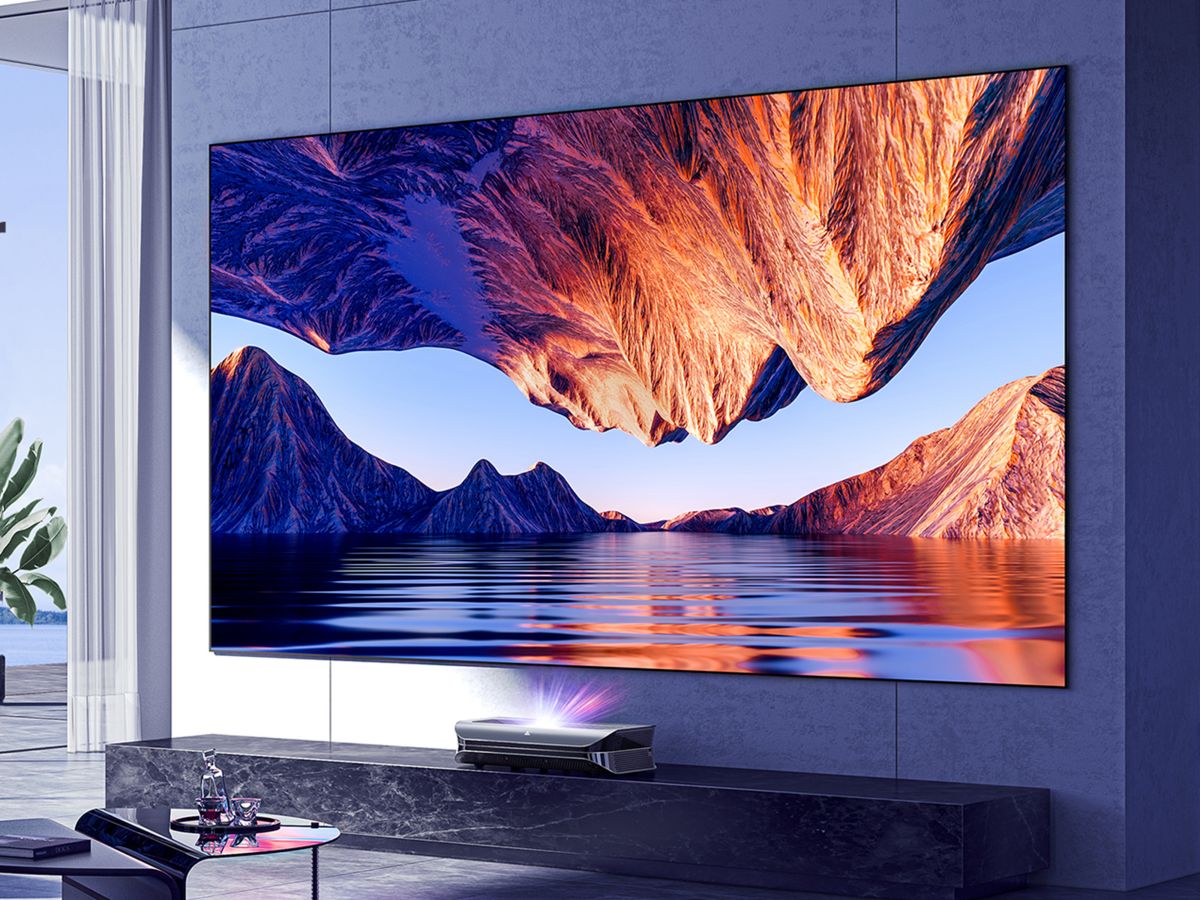
Ultra Short Throw (UST) projectors are a great choice for home theaters. They provide large, clear images even when placed close to the screen. However, proper installation and alignment are essential for optimal performance. This guide will help you set up your UST projector perfectly.
Choosing the Ideal Location for Your UST Projector
Selecting the ideal room and the best location for your UST projector is crucial. Choose a room with controlled lighting and minimal windows to reduce glare. The best location for the screen is on a flat, smooth wall that is free from obstructions. Ensure there is enough space in front of the screen to place the projector at the correct distance.
Preparing Your Space for UST Projector Installation
To prepare your space for the installation of a UST projector, start by ensuring your wall or screen surface is flat and smooth, as any bumps or irregularities can distort the image. UST projectors are generally a type of laser projector, and because of the precise nature of a laser projector, it is crucial to have a perfectly flat surface for optimal image quality. Arrange your furniture to provide an unobstructed view of the screen, avoiding objects between the projector and the screen. Ensure there is enough room for comfortable seating, considering the viewing angles for everyone in the room. Proper preparation of your space ensures an optimal viewing experience.
Setting Up Your UST Projector
Unboxing and Inspection
Start by unboxing the projector and inspecting all the components. Check for any damage and ensure you have all the accessories. Read the manual to familiarize yourself with the projector’s features.
Projector Placement
Place the projector close to the screen, following the manufacturer’s recommended distance. The projector should be level with the bottom edge of the screen. Use a sturdy stand or shelf to ensure stability.
Distance and Angle Adjustment
Adjust the projector’s distance from the screen to achieve the desired image size. Most UST projectors have a specific range for optimal performance. Ensure the projector is angled correctly to avoid image distortion.
Screen Alignment
Align the screen so that it is level and centered. Use a spirit level to check the screen’s alignment. Proper screen alignment ensures a straight and undistorted image.
Keystone Correction
Use the keystone correction feature to adjust the image shape. This feature corrects the trapezoidal distortion that occurs when the projector is not perfectly perpendicular to the screen.
Lens Shift and Zoom
Fine-tune the image position and size using the lens shift and zoom features. Lens shift allows you to move the image vertically or horizontally without moving the projector. Zoom adjusts the image size without altering the projector’s position.
Picture Settings
Adjust the brightness, contrast, and color settings for the best picture quality. Start with the default settings and make small adjustments until you achieve the desired image quality.
Sound Calibration
Integrate and optimize your audio setup. Connect your projector to a sound system and calibrate the sound for the best experience. Proper sound calibration enhances the overall viewing experience.
Testing and Troubleshooting Your UST Projector
Before enjoying your new setup, perform an initial test run to check the overall setup and make adjustments. Look for any image or sound issues and address them promptly.
Initial Test Run
Check the overall setup by playing different types of content. This helps you identify and fix any issues with the image or sound quality.
Common Issues and Solutions
Address common alignment and image quality problems. If the image is blurry, check the focus. If the colors are off, adjust the color settings. Ensure all cables are securely connected.
Ongoing Maintenance
Regular checks and maintenance are essential for sustained performance. Clean the projector’s lens regularly and check for firmware updates. Keep the projector dust-free to ensure optimal performance.
To summarize, ensure your projector is correctly placed and aligned, perform regular maintenance, and address any common issues promptly for the best ongoing performance.
Advanced Tips and Tricks for UST Projector Setup
To further optimize your UST projector setup, consider these advanced tips and tricks. These techniques will help you achieve precise alignment and enhanced usability, ensuring you get the most out of your projector.
Using a Laser Level
For precise alignment, use a laser level. This tool helps you ensure the projector and screen are perfectly aligned, reducing the need for keystone correction.
Optimizing for Different Content
Adjust the settings based on the type of content you’re watching. For movies, you might prefer a different brightness or contrast setting than for gaming.
Smart Features and Connectivity
Leverage smart features for enhanced usability. Many UST projectors come with smart functionality that allows you to stream content directly or connect wirelessly to other devices.
By using advanced tools like a laser level, optimizing settings for different content types, and leveraging smart features, you can significantly enhance your projector setup and viewing experience.
Conclusion
Proper installation and alignment of your UST projector are essential for the best viewing experience. By following these tips and tricks, you can ensure that your projector is set up perfectly. Take the time to fine-tune your setup, and you’ll enjoy a cinema-like experience right at home.


